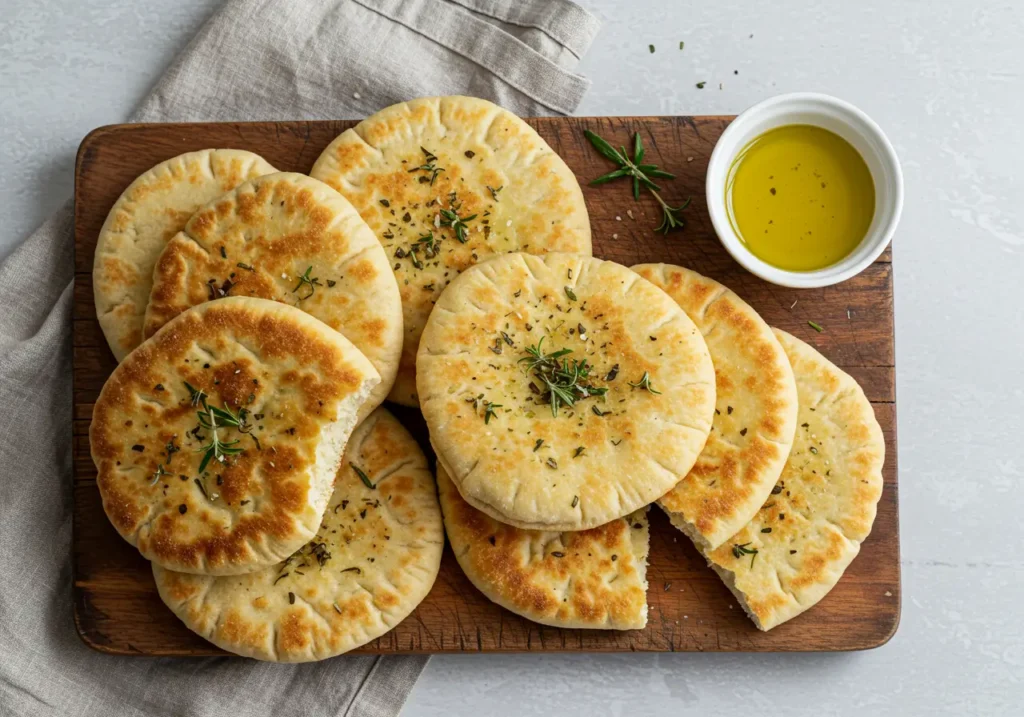
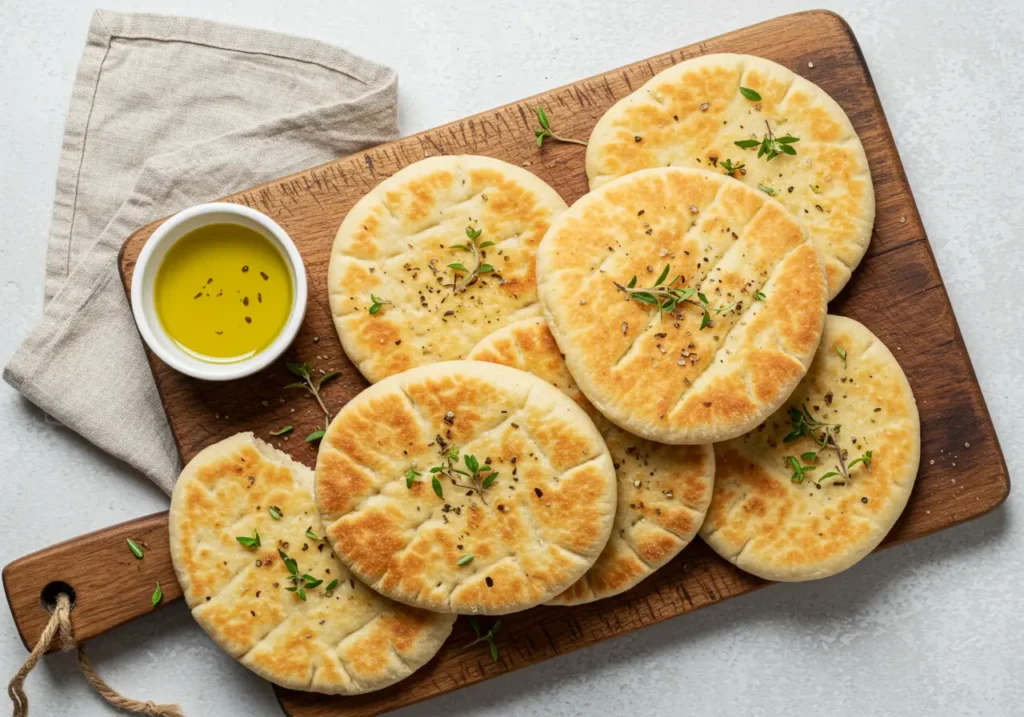
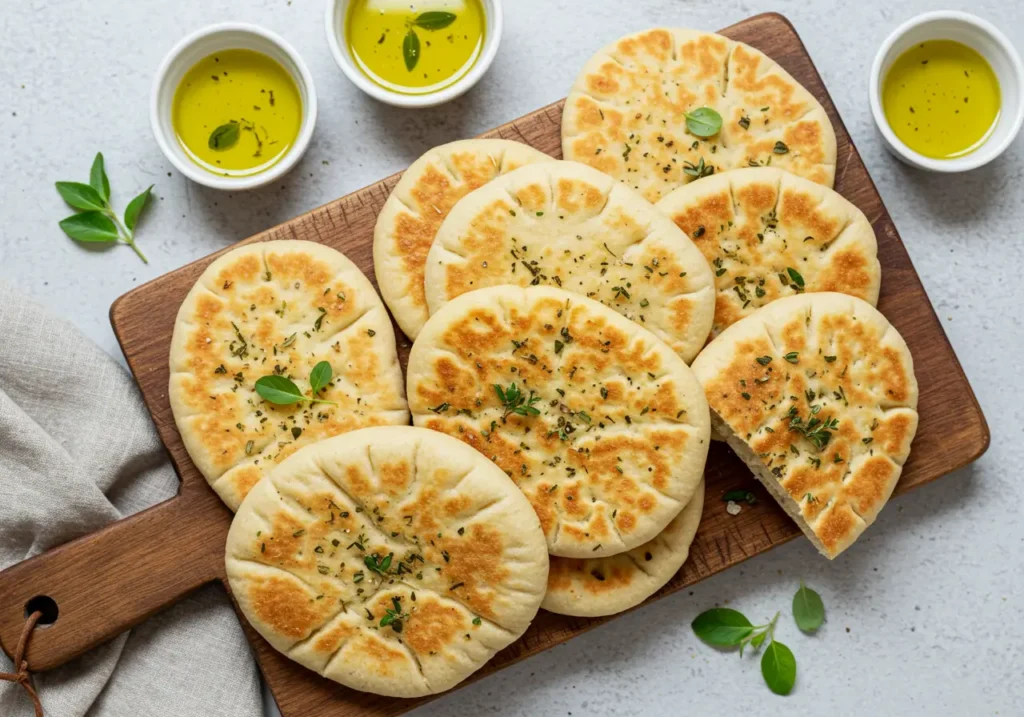
Picture golden-brown rounds emerging from your oven, their surfaces beautifully puffed and slightly charred in spots, releasing clouds of warm, yeasty steam. The crust crackles softly as it cools, giving way to an interior that’s impossibly soft and airy like edible clouds with delicate, chewy walls that form natural pockets perfect for stuffing{Fluffy Greek Pita Bread Recipe}.
The aroma fills every corner of your kitchen with notes of toasted wheat, a hint of olive oil, and that distinctive fermented fragrance that only comes from properly proofed dough. Each pita is wonderfully irregular, with organic bubbles and gentle imperfections that speak to its handmade origins.
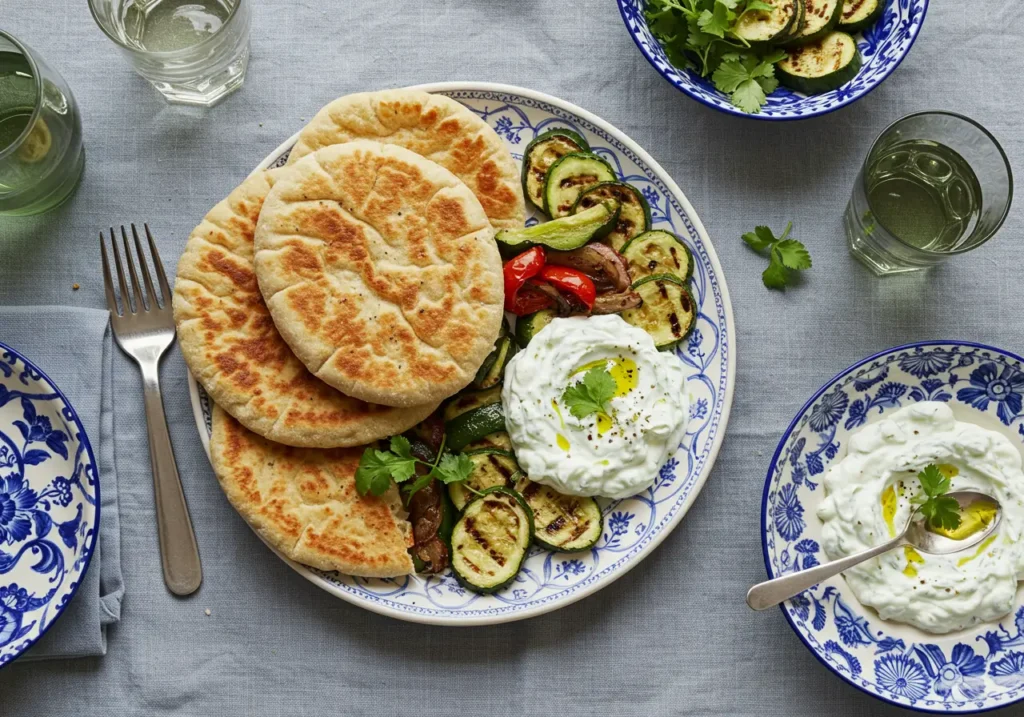
When you tear one open while it’s still warm, wisps of steam escape, revealing the hollow interior with its tender, slightly stretchy texture. The flavor is clean and wheaty with a subtle tang, providing the perfect neutral canvas that enhances rather than competes with whatever you fill it with whether that’s creamy tzatziki and grilled lamb, fresh vegetables and hummus, or simply a drizzle of good olive oil and a sprinkle of za’atar.
The texture strikes that magical balance between substantial enough to hold generous fillings without falling apart, yet light enough that you could easily eat several without feeling weighed down. It’s comfort food at its finest simple, honest, and infinitely satisfying.

Why You’ll Love This Recipe
This fluffy Greek pita bread recipe delivers everything you want in homemade bread:
- Incredibly soft texture These pitas puff up beautifully, creating perfect pockets
- Simple ingredients Just pantry staples you probably already have
- Quick results From mixing to eating in under an hour
- Versatile base Perfect for gyros, dips, or eating on its own
Let me tell you a little secret: the key to achieving that authentic Greek bakery taste is in the resting time and proper heat. I learned this technique from my Greek neighbor, and it’s been in regular rotation at my house ever since!
Ingredients You’ll Need
For the Dough:
- 3 cups all-purpose flour
- 1 teaspoon active dry yeast
- 1 teaspoon salt
- 1 teaspoon sugar
- 1 cup warm water (110°F)
- 2 tablespoons olive oil
The key ingredient here is good quality olive oil it adds that distinctive Mediterranean flavor. If you don’t have active dry yeast, instant yeast works perfectly as a substitute. For the flour, bread flour can be used for an even chewier texture, but all-purpose creates that perfect soft pita we’re after.
Equipment Needed
You’ll need a large mixing bowl, measuring cups, a clean kitchen towel, and a cast iron skillet or heavy-bottomed pan. Don’t have a cast iron skillet? A regular non-stick pan works fine just make sure it gets nice and hot!
Time to Cook
| Step | Time |
|---|---|
| Prep Time | 15 minutes |
| Rising Time | 30 minutes |
| Cooking Time | 15 minutes |
| Total Time | 1 hour |
| Difficulty Level | EASY |
Make-Ahead Tip: The dough can be prepared up to 24 hours in advance and stored in the refrigerator.

Step-by-Step Instructions
Preparation
- In a small bowl, dissolve sugar in warm water and sprinkle yeast on top. Let sit for 5 minutes until foamy.
- In a large bowl, combine flour and salt. Create a well in the center.
- Pour the yeast mixture and olive oil into the flour well.
- Mix until a soft dough forms, then knead on a floured surface for 8-10 minutes until smooth and elastic.
Cooking Method
- Place dough in an oiled bowl, cover with a damp towel, and let rise for 30 minutes until doubled.
- Divide dough into 8 equal portions and roll each into a ball.
- On a floured surface, roll each ball into a 6-inch circle, about ¼-inch thick.
- Heat your cast iron skillet over medium-high heat until very hot.
- Cook each pita for 1-2 minutes per side until puffed and lightly golden.
How to Know When It’s Done
Your pita is perfectly cooked when it puffs up like a balloon and develops light golden spots on both sides. The internal temperature should reach 190°F, but honestly, you’ll know by the beautiful puffing action!
Finishing Touches
Immediately wrap cooked pitas in a clean kitchen towel to keep them soft and warm. Your kitchen is going to smell amazing! Brush with a little olive oil while still warm for extra flavor.

Tips for Perfect Results
Here are my tried-and-true secrets for perfect fluffy Greek pita bread recipe success:
- Temperature matters Make sure your water is exactly 110°F for optimal yeast activation
- Don’t skip the rest That 30-minute rise time is crucial for developing flavor and texture
- Hot pan is key Your skillet should be smoking hot before adding the first pita
- Work quickly Once you start cooking, move fast to maintain consistent heat
The most common mistake I see is not getting the pan hot enough. Trust me, that initial high heat is what creates those magical air pockets!
Variations to Try
Transform this basic fluffy Greek pita bread recipe with these delicious twists:
- Herb pita Add dried oregano and thyme to the dough
- Whole wheat version Substitute half the flour with whole wheat for added nutrition
- Garlic pita Brush finished pitas with garlic-infused olive oil
For a gluten-free option, try using a 1:1 gluten-free flour blend, though the texture will be slightly different.
Serving Suggestions
These soft pita breads are incredibly versatile! Stuff them with grilled chicken and tzatziki for authentic Greek gyros, use them as dippers for hummus and baba ganoush, or simply tear them apart and dip in olive oil with herbs. They’re also fantastic alongside Mediterranean salads or as the base for quick pita pizzas.
Frequently Asked Questions
Can I make this fluffy Greek pita bread recipe ahead of time?
Absolutely! The dough can be prepared and refrigerated for up to 24 hours. Just bring it to room temperature before rolling and cooking. Finished pitas stay fresh for 2-3 days wrapped in plastic.
What makes pita bread puff up?
Pita bread puffs up due to steam forming inside the dough when it’s exposed to high heat. This steam causes the layers to separate, creating that signature pocket. A very hot oven or skillet is essential for a good puff.
Can I freeze this dish?
Yes! Wrap cooled pitas individually in plastic wrap and freeze for up to 3 months. Thaw at room temperature and warm in a skillet before serving.
What is the difference between pita and Greek style pita bread?
Traditional pita bread has a pocket created by steam during baking, while Greek-style pita is pocketless and thicker, often softer and more chewy. Greek pita is perfect for wraps and gyros, but doesn’t split open like regular pita.
How to make fluffy flatbread?
To make fluffy flatbread, use a combination of all-purpose flour and yogurt or a bit of milk for softness. Let the dough rest well before cooking, and use a hot skillet or oven. Avoid pressing down the dough too hard while rolling thicker rounds help retain moisture and create fluff.

Time to Get Cooking!
This fluffy Greek pita bread recipe brings the warmth and comfort of a Mediterranean kitchen right to your home. The combination of simple ingredients and traditional technique creates bread that’s infinitely better than anything you’ll find in stores. Give this recipe a try and share your results I’d love to hear how your homemade pita adventure goes!
